Throughout the film our storyline would be revealed and the audience would understand why our serial killer wears a mask. Considering the mask for our film we have to do some preparation. In these pictures we are with, David Wilding, our Special Effects producer doing preparation for our mask, before creating our final mask for our opening we have to go through the procedures and stages of making it. I did a practice with mask moulds that have already been done before.
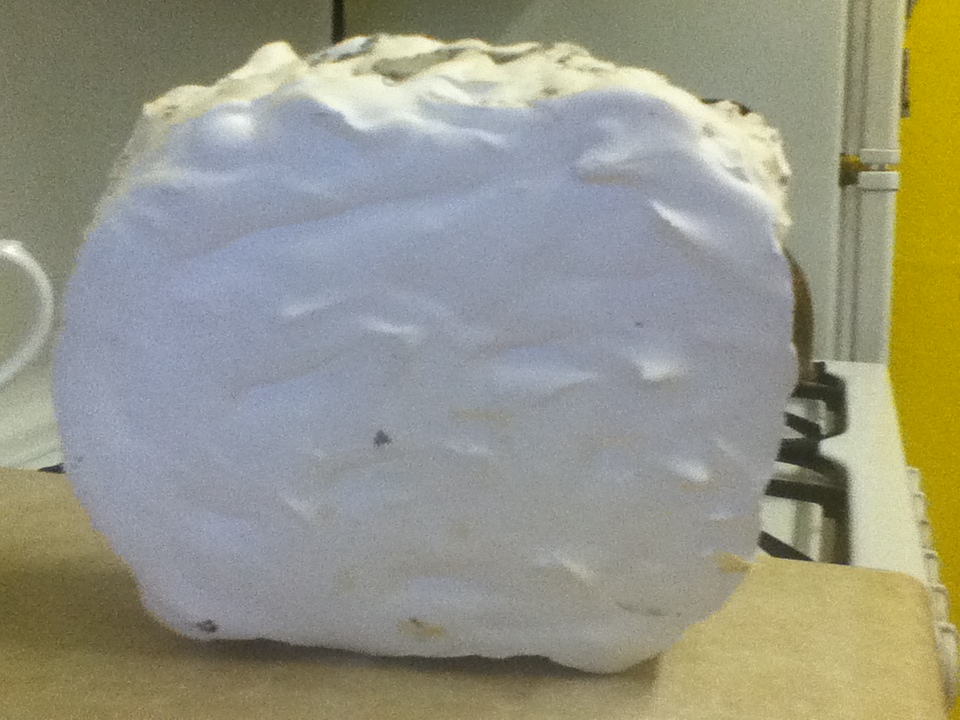

As you can see from the above pictures these are the moulds that you would make before hand, we will be using plaster to do ourselves an original mould for our film. This is fast setting plaster which would only take an hour to become as hard like this one in the picture.


This is the 'Tiranti' latex that we pour into the mould and mix around with the brush shown below, this would be the first layer out of many that would set and create a rubbery type mask.
 |
| Brush used for spreading the latex |


By pouring the latex into the mould (picture on the left) and then picking up the mould and spreading the latex around the mask by moving it from right to left, this evens the latex out so that when it sets we will get an even finish.

With any latex that hasn't reached the sides by rotating the mould, you would use the brush to spread the rest around the mould.

Putting into consideration how much latex you've poured into the mould, to not get a lumpy finish on the rubber mask you would have to get rid of any air bubbles and pour away the access latex.

By using a hair dryer we can make the latex set a lot nicer and quicker. The heat hardens the latex and creating a very thin rubbery textured layer. You would need to repeat these stages at least 6-7 times to get the ideal thickness of the mask.
 |
| Stages repeated again for thickness |

We repeated the stages again as you need to get a certain thickness for the mask to not fall apart, as you can see from the previous two pictures.

This is our final stage where you would peel the mask from the mould and then start to plaster to get the ideal look.


By doing another experiment to see how many layers we would need of latex for the mask to not be too delicate for handling, considering the film as a whole and the sequences we'd need to add in. As you can see from the picture above the first one didn't come out as well as we'd planned but the second wasn't delicate at all just like rubber.

This picture is an example of a mask that has been made before by these stages and we are looking for something similar but a different design.
Our research and experiments have helped us to understand the special effects that will take place for our film and the difficulties of other things such as expense. As plaster, latex and equipment utensils cost quite a lot.
Post by: Jess Wilding
No comments:
Post a Comment